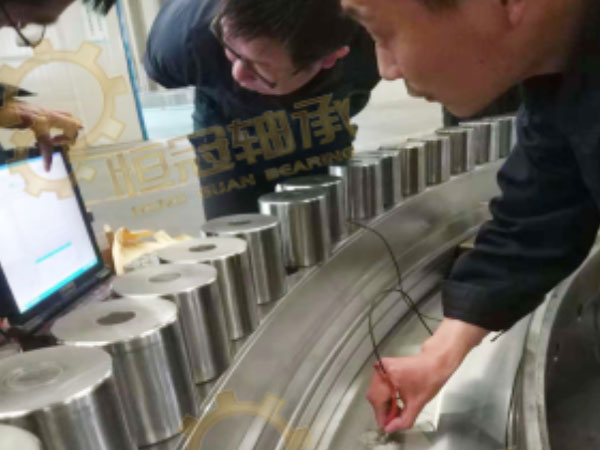
Introduction about the process of slewing bearing processing
1. Inspection of forging blanks
First understand the material of the blank and the state after forging before processing. Secondly, it is necessary to check whether the blank has defects such as lamination and cracks.
Measure the dimensions of the blank. Including the inner and outer diameter of the blank, the height dimension, calculating the machining allowance, and estimating the number of times of turning in the turning process more accurately.

2. Turning processing
Roughing: Roughing according to the turning process drawings, the cutting speed and cutting amount are strictly in accordance with the process regulations (the general cutting speed is 5 rev / min. The cutting amount is 10mm ~ 12mm).
Rough aging: After the roughing of the bearing parts is completed, the three-point support is adopted, and the flat parts are not allowed to be stacked. The aging time is not less than 48 hours before the finishing of the car can be carried out.
When the precision bearing parts are finished, the cutting speed is 6 to 8 revolutions per minute, and the cutting amount is 0.3 to 0.5 mm.
Forming Finishing Car: When the bearing parts are finally formed into the finished car, in order to prevent the parts from being deformed, the fixed clamping device of the parts must be loosened, so that the parts are in a state of no force, the turning speed is 8 revolutions per minute, and the cutting amount is 0.2 mm.
Cross, three-row roller slewing bearing inner ring special process: In order to prevent crossover, the inner ring of the three-row roller slewing bearing is deformed after heat treatment. In the turning process, it is necessary to carry out pair processing, that is, the raceway back-to-back processing, no cutting before heat treatment, and cutting after heat.
After finishing the heat: After the heat treatment of the inner and outer rings of the bearing, the finishing process is carried out.

3. Heat treatment
Quenching surface quenching: The bearing raceway surface is medium frequency quenched, the hardness is not less than 55HRC, the hardened layer depth is not less than 4mm, the soft belt width is less than 50mm, and the “S” mark is marked at the corresponding position.
After the heat tempering treatment: After the intermediate frequency quenching of the inner and outer rings of the bearing, it must be baked at 200 °C for 48 hours. To ensure the disappearance of internal stress.
4. Rolling and milling
For the slewing bearing with internal and external teeth, the hobbing process should be carried out before the grinding process, strictly in accordance with the process requirements, and the accuracy level should reach 8 or above.
5. Drilling
Marking: After measuring the dimensions of the parts, the lines shall be scribed according to the specified dimensions of the drawings. The positioning process shall not differ by more than 3 inches.
Drilling: Check the size of the scribe line against the drawing to ensure the correct size and then carry out the drilling process. The mounting hole of the slewing bearing of the inner body should be combined and processed, and the error of the hole distance of the 180C degree between the soft belts should not exceed 5‰.

6. Grinding processing
Rough grinding: It adopts medium corundum, soft three-grain degree is 36 degrees, and the atmospheric hole resin grinding wheel is used for grinding. The line speed is controlled at 1500 rpm to prevent the raceway burn. The maximum grinding depth must not exceed 1 mm.
Fine grinding: Grinding with a particle size of 46 degrees or 60 degrees resin grinding wheel, the grinding amount is less than the rough grinding process, and the finish should reach the level specified in the drawings.

7. Other parts
Rolling element: self-processing or steel ball roller of fixed-point manufacturer, the accuracy grade should meet the requirements of the drawings, the rolling elements are less than 5% of each other, and the surface magnetic particle inspection and ultrasonic flaw detection should be carried out before the bearing assembly, and the flaw detection report is issued.
Retainer: The retainer manufactured by the fixed-point manufacturer shall be used to meet the requirements of the drawings, and strict inspection shall be carried out before assembly and use, and a test report shall be issued.
Sealing ring: Sealing strip produced by fixed-point manufacturers. Strict testing should be carried out before assembly and inspection records should be issued.

8. Assembly
Preparation clearance: After the grinding process, the test assembly shall be carried out in order to measure the preliminary clearance. According to the calculation data and the test clearance, the final grinding process shall be carried out, and the final drawings shall be used to define the clearance.
Parts inspection: After the clearance is completed, the final part inspection shall be carried out and recorded accordingly.
Demagnetization, cleaning, packaging and issuing a certificate.


