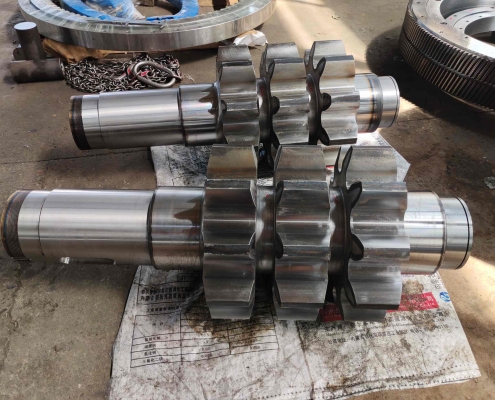
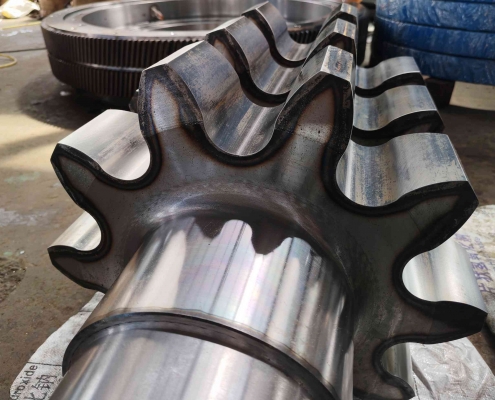
A comprehensive review of the precautions in the design of gear shaft structure!
How to choose the positioning datum for the processing technology of gear shaft?
The processing order of the main surface of the gear shaft depends to a large extent on the selection of the positioning datum. The structural characteristics of shaft parts and the position accuracy requirements of the main surface of the spindle determine that the axis is used as the positioning datum, which not only ensures the uniformity of the datum, but also makes the positioning datum coincide with the design datum. Generally, the outer circle is used as the rough datum, and the sharp holes at both ends of the shaft are used as the fine datum. Pay attention to the following points when selecting.

(1) When the relative position accuracy requirements between the processed surfaces are high, try to complete the processing of each surface in one clamping.
(2) When the top holes at both ends (such as processing the spindle taper hole) cannot be used for rough processing or positioning, in order to improve the rigidity of the process system during workpiece processing, only the cylindrical surface can be used for positioning or the cylindrical surface and the center hole at one end can be used as the positioning datum. During the processing process, the outer circle of the shaft and the center hole at one end should be used alternately as the positioning datum to meet the mutual position accuracy requirements.
(3) If the shaft is a part with a through hole, the original top hole will disappear after drilling the through hole. In order to still use the top hole for positioning, a taper plug or taper sleeve mandrel with a top hole is generally used. When the taper of the shaft hole is large (such as the milling machine spindle), a taper sleeve mandrel can be used; when the taper of the spindle taper hole is small (such as the CA6140 machine tool spindle), a taper plug can be used. It should be noted that the taper sleeve mandrel and taper plug used should have high precision and minimize their installation time. The center hole on the taper plug and taper sleeve mandrel is both the positioning reference for its own manufacturing and the finishing reference for the spindle outer circle. Therefore, it is necessary to ensure that the taper surface on the taper plug or taper sleeve mandrel has a high coaxiality with the center hole. For small and medium-sized batch production, the workpiece is generally not replaced midway after the taper plug is installed. If it is necessary to repeatedly process the outer circle and taper hole based on the other party as a reference, when reinstalling the taper plug or bushing mandrel, align or re-grind the center hole according to the outer circle.

From the above analysis, it can be seen that the selection of positioning reference in the gear shaft processing technology should consider the following process arrangements: at the beginning, the end face center hole is drilled with the outer circle as the rough reference, and the positioning reference is prepared for rough turning; rough turning of the outer circle is the positioning reference for subsequent processing: in order to prepare the positioning reference for semi-finishing and finishing of the outer circle, the front and rear top holes are first processed as the positioning reference; the gear tooth processing also uses the top hole as the positioning reference, which well reflects the principle of unified reference and the principle of reference coincidence.


